Paintwork:
Underside:
The underside of the MGB was covered in black sticky underseal, which was hiding lots of nasty rust.
I
built a rotisserie so that I could get to the bottom of the car. I then
used a combination of heat gun and a scraper to get the underseal off,
then went over it with white spirit and a cloth, this took about a week
to complete.
Once it was clean I then completed the repairs to the floor pan, sill etc, before coating the bottom with Bonda Zinc primer.
Having now completed all the panel/metal work repairs to the body, I can return to the job of painting the bottom of the MGB. I have done research on what product to use, and I have decided on Jotun Hard Top Flexi paint from Shepherd Marine.
Hardtop Flexi is a two component, high solid, flexible polyurethane coating, it has good resistance to chipping and is flexible, (its designed for use on ships and boats so should be good for the MGB underside) it also comes in almost any colour you want, so I have opted for Gentian Blue which is almost identical to the Tahiti Blue I will be using for the exterior panels. I will brush or roller the paint on. I may also treat vulnerable areas with some sort of extra protection, such as Bilt Hamber Dynax, but I will decide on that later on.

I applied seam sealer to all the underside seams.
I then started applying the Jotun Hard Top Flexi. I used a roller and brush for the corners, it goes off in 1 hour so you have to work fast and don't mix up more than 1/4 of a litre otherwise it goes too sticky before you get it all on. It will need 2 coats to get proper coverage.
This is the completed paintwork on the underside and front wing insides, this stuff goes on really nice and has a good shine to it.
I then refitted the front wings, using sealer on the seams and joins.
I also waxoiled insides the chassis , whilst the car was still on the rotisserie.
Interior:
I decided to paint the interior using the same paint and method as the underside, as it went on so well and gave good coverage. The dash underside was painted in satin black Rustoleum, the reason I did this is that you can see certain bits once the dash is in, and I want these parts to be the same colour as the dash.
Exterior:
The new RV8 Fibreglass bonnet arrived this week, from Honeybourne Mouldings, good value for money and the quality is good too.

This is a great stage to be at now, all the panel work is complete and the underside dealt with, just need to thoroughly prep and paint the exterior and engine bay.
I have done a lot of research on what paint system to use and I have come up with the following.
1, Metal areas are treated with Zink Bonda Primer, and lightly sanded.
2, 2k High Build primer will be applied in several coats, with long block flatting after each coat.
3, A few of coats of Cellulose high build primer will be sprayed on and flatted after each coat.
4, 6 to 7 coats of Cellulose top coat will be sprayed on, flatting after the first 3 coats, and then thinned a bit more for the last 3 or 4 coats.
5 Once set hard, I will flat the paint with 1500 grit and then polish to a high shine.
Why am I mixing 2k and cellulose? well, you cant spray 2k at home, not unless you want to kill yourself with Isocyanate, or have the appropriate breathing apparatus and extraction systems to spray it safely, but I do want the extra protection that 2k primer can provide, my solution is to roller it on. This is not as mad as it sounds, a lot of bodyshops do this on small areas to speed things up, less masking and fewer visits to the oven.
Rollering on the top coat is not something I really want to do though, so I must use Cellulose sprayed on, its easier to flat and get a good result and fixing problems afterwards is nice and easy.
So here goes...
The first coat of 2k High Build primer is applied. I used foam rollers and a brush to do the edges.
I mixed up 250ml at a time, which allows just enough time to get it on before it goes off, I then flatted the first coat roughly with 230 paper.

I Then put a guide coat on ready for the laborious flatting process, this will be
done with a long block and 230grit paper, and the process repeated until
the panels are perfectly flat.
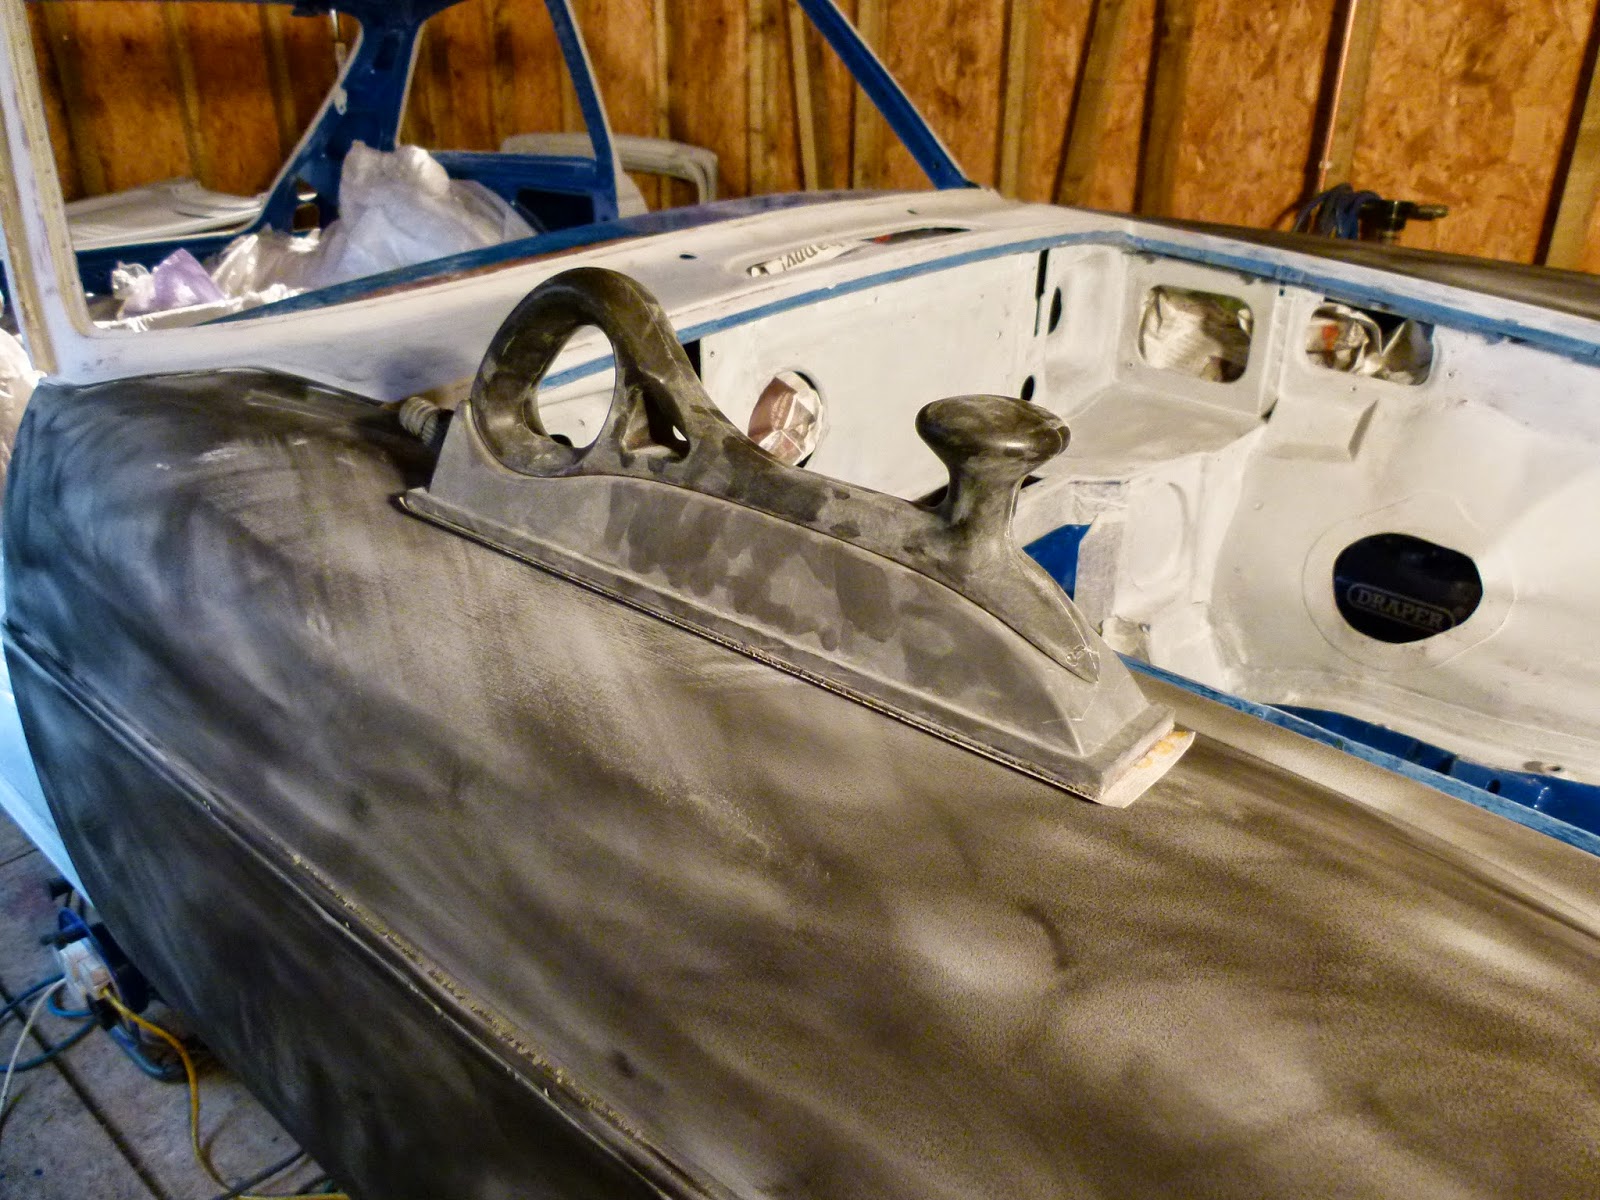
Using a variety of sanding blocks, the first guide coat is sanded off, stop sanding when either all the guide coat is off or you go through the primer, this images shows the high spots and low spots, so at least 2 more coats of 2k primer will be needed and block sanded again.
It took around 3 or 4 sessions of rollering 2k primer, long block flatting with 150 grit paper and adding filler/stopper in the low spots, and then re priming, I must have put on about 8 coats of 2k primer, and sanded alot of that off to get the panels as flat as I wanted.
This is the result, now covered in 2k primer, it took me about 6 weeks of evenings and weekends to get to this stage. I refitted the doors and bonnet just to make sure my panel gaps were still ok, satisfied that they were, I removed them again ready for the next stage.
Now onto the spray Cellulose primer. I am using U-Pol Grey High Build Primer, and sprayed on with a Clarke HVLP Gravity feed gun.
I wet flatted the 2k primer with a small block and 320 grit paper, degreased and tack rag, ready for the primer.
I applied the first 3 coats and let it dry overnight. I then repeated the block flatting using 240 grit paper, and went through to the 2k primer in a lot of places and through that in a few small areas, these were reprimed with the 2k primer and I then remasked the car and sprayed a further 3 coats of the cellulose grey primer. I will let this dry thoroughly and wet flat with 600 prior to applying colour.
Between the start of the paint process to the completion of the priming, I must have spent around 150 hours on it!
Started applying colour this weekend. I cleaned the workshop, sprayed water on the floor and degreased and tack ragged the car. I decided to do it in sections, mainly because the compressor would not keep up with doing the whole car in one go, and also the mist build up is high and the extractor takes a while to clear the work area. So started on the roof, an initial mist coat, then 3 more coats thinned 50:50 laid on thick, 20 minutes flash off time between coats. I then let it sit for an hour and put 4 more coats on thinned 40:60. I decided not to flat/sand due to the time this would take, and my test on the old bonnet did not show much advantage when flatted after 3 coats, I will only flat the final coat, once it has gone hard after about 4 weeks.

More painting of the insides of the doors, bonnet, tailgate etc, getting a reasonable finish now. I switched the final coat to a 70:30 mix to get a flatter/glossier finish. Note: This extra thin last coat made no improvement at all, so in future I wouldn't bother thinning this much.
Ready for the next stage of paining, the rear wings are next
First setback of the whole painting process, the finish on the rear wings has come out with a matte finish, no shine whatsoever. Must be the new batch of thinners the paint shop supplied me with. I will need to investigate and probably reflat these panels before putting more paint on.
As an interlude, whilst waiting to sort out the paint finish problem, I decided to fit the new front valance/spoiler. It is a Frontline Developments spoiler, based on the Sebring design, but has the extra lip at the bottom, which I prefer the look of. I drilled the fixing holes, and bumper bracket holes, and had to cut off a bit from the sides as it overhung the wings, I presume its made like this in case you want to have a flush fit with the front of the wings. I will rough up the gell coat and remove it again before priming.
Tried a new tin of thinners (Churchill brand), and got good results again, so resprayed the rear wings and back panel, doors and bonnet, just the front spoiler to go.
Here is the spoiler in 2k primer, and guide coat applied ready for flatting.
I made up a mesh grille which I test fitted, also in this image is an additional repair to the bottom central area which had a crack in the fibreglass all the way through, so I applied some fibreglass to the rear as reinforcement, and a bit of filler on the outside.
The Frontline Spoiler is the last item to be painted, managed to achieve a great finish on this.
The paintwork will now sit for about one month before I touch it again.
I also sprayed Bit Hamber Dynax UC onto the wheel arches and fuel tank, it is a clear wax spray which dries semi matte but clear, it gives stone chip protection, and maintains the paint colour underneath.
It is now 4 weeks since I painted the roof, so the flatting and polishing process begins. I intend to flat with 1500, then 2000grit, both by hand, then 3000grit on a DA, then compound with something like Farecla G3 and G10. This image shows the roof after hand flatting with a rubber pad and 2000 grit wet and dry.
Roof and front wing nearly finished, it takes it roughly a day to do one panel, still a long way to go.
The flatting process continues with the doors. I will soon see that I have spent all this time flatting for nothing!
For some reason, once I get to the compounding stage, a strange mottled/cloudy effect becomes apparent, it is on all the panels, some worse than others, it doesn't polish out either.
Some research seems to point to moisture in the paintwork (known as bloomimg) and is in the paint layers below, which are exposed when flatting the paintwork.
The only solution seems to be to repaint the whole lot again.!
I flatted the whole car down again with 600 wet & dry paper. I then masked everything up again, including the workshop walls. I installed an extra water trap, took the compressor out of the spray area and fitted a different extractor fan (Fiesta radiator fan).
Off we go again! respray take 2.
I am going to put 2 more coats of cellulose colour on, and then 3 coats of U-Pol 1k clearcoat, the idea being, when I do the wet sanding process, I will be flatting the clear and not the colour, therefore removing the mottling problem, I believe that the 1k clear also has uv protection properties and should be easier to maintain.
I did some research on spraying 1k clear onto cellulose and could not come up with a definative answer on how best to do it. So following some tests on the old bonnet I decided to clear straight away after spraying the colour, therefore removing the need to re-flat the colour and re-masking etc. Time will tell if this is the right thing to do or not. I will let you know.
Update:
It is now about 3 months since I sprayed the car, and it appears to have held up well. I then colour sanded and compounded to whole car again.
I have the exterior trim, lights, bumpers and glass to fit now.
The rear screen went in first, using the original rubber and glass. It went in quite easy, using the British Layland method (rubber in first, then the glass then the locking strip.
The front screen however, was a different matter, new rubber and glass, means it wont go in. The rubber will not stay in place in the aperture, so I resorted to the classic Ford method of fitting the rubber to the glass first then pulling the rubber into the aperture using cord, this worked, but was not easy, and I cant get the locking strip in, so I will need to buy the tool.
The special tool arrived and saved the day. It works really well and the insert went in. The chrome trims go in quite easy, with plenty of soap to lubricate it and a small screw driver to ease the rubber over the edges.
I then refitted all the exterior parts, lamps, trims, bumpers and grilled etc.
The chrome trims are original and in reasonable condition, so I cleaned them up and refitted them.
Max and myself carried out a final polish to remove any marks and swirls, just a couple of coats of wax will be needed before the car goes outside.
One of the last things to go on the car, the V8 rear badge !