Friday, 27 June 2014

Doors:
The n/s door is in very good condition, but the o/s door, is not only rust but a very bad fit,. it has had a bottom replacement, and skin, but this has rusted out, and I think it was a Roadster door converted for the GT, which is a bad idea, because the latch mounting is recessed on the Roadster, so the latch will never be smooth.
Managed to get a nice second hand drivers door from the MG breakers yard in Chichester.


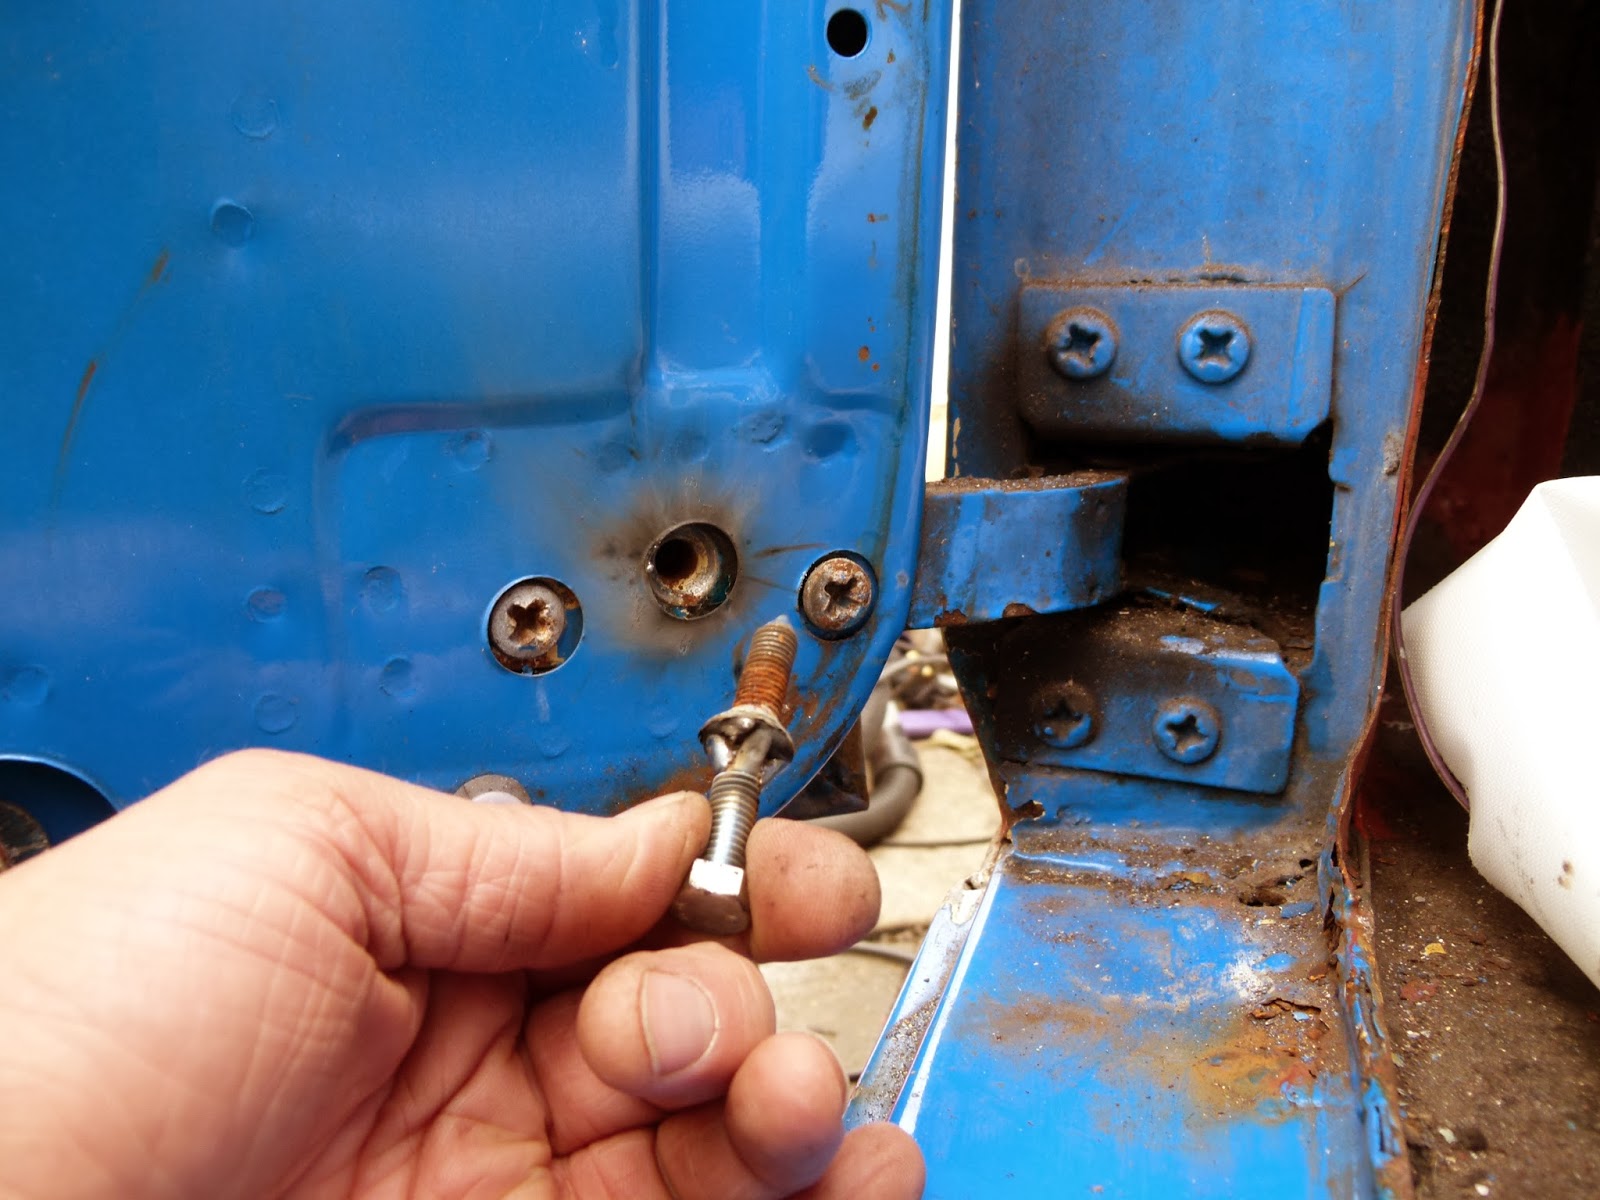
This is a good technique for removing a siezed hinge bolt.


 Rightly or wrongly, I have decided to weld up the door lock holes, to give the car a cleaner look, this will of course mean the fitting of a remote locking kit later on.


In an attempt to get really good door gaps, I intend to build up gaps that are too large with 3mm round steel rod. I have cut away the door edge and will weld in the rod to give me a perfect door gap, this will be repeated in several places around the doors.  

 I was not happy with the fit of the n/s door, it sticks out at the bottom rear corner. It was flush at the front edge and also at the top rear of the door, I tried all the adjustments at the hinges but that only put the problem elsewhere, I also tried to twist the door using some angle iron bolted to the inside of the door, but could not improve it much. So I decided on major surgery!
 I cut a slot in the bottom of the door frame, starting near the front of the door and going just round the rear corner. I then clamped the door to close up the gap.
I welded the join in a few places and test fitted the door, once I was happy I seam welded the join fully. This pulled the bottom of the door in a couple of millimeters, just enough to improve the fit of the door. 
Probably not very clear in this image, but the door gaps are now fairly even.


 My initial hope of keeping the tailgate, didn't happen, as on close inspection it has some rust on the aperture seams and around the edge, once rust gets into these seams you cant really remove it, so I managed to source a rust free used tailgate on ebay.

I test fitted the new tailgate, very happy with it, I also fitted some new telescopic gas struts.

I sent the door latches away to have them re instated with Zinc plating and yellow chromate colouring, as per the original finish.


Saturday, 31 May 2014

Chrome Bumper Conversion:

It was always my aim to covert the Mg to chrome bumpers. I chose a rubber bumper model originally because they are so much easier to convert to the Rover V8. But I don't like the rubber bumpers so they will have to go.


The front chassis ends are modified to make room for the new Grille.


New lower front springs purchased to bring the front down to Chrome Bumper height (1.5 inches).
The rear suspension will also have to be lowered, I am looking at the various options available to me.

This is the Rubber to Chrome bumper conversion kit, which included most things that you need to make the change over.  

 This was a test fit of the new honeycombe grille. It doesn't fit, not by a long way, these reproduction parts are the wrong shape, and bend outwards on the corners. I will have to modify it somewhat.
The rear spring hangers were severely corroded, so I decided to replace them with chrome bumper spring hangers, which will also reduce the rear ride height. Also giving the added benefit of being able to the correct chrome bumper brackets.  


 I also discovered that the rear spring front hangers had some corrosion on them, so I made the decision to replaced theses as well, with those for a chrome bumper MGB, which.


 Here I am cutting away the addition chassis section that the factory fitted to lower the bump stop for the rubber bumper cars.
The finished bump stop, now at the correct height for a chrome bumper MGB

 I have decided to start again on the front bumper mounting modifications. The adapter bracket that comes in the conversion kit bolts to the remains of the rubber bumper bracket, I am not happy with the look of it and have decided to fit the proper chrome bumper brackets, this means cutting back the front chassis ends and making a captive nut bracket for the bolts to go into.


The filler piece is made and a captive nut welded on the back, I have left a slot in it to allow for the bumper bracket nuts to be slid into the chassis.

As the ride height will be lower, as well as the work I have done on the rear bump stop, the fronts will also have to be modified. You can buy shorter bump stops from Moss, but being the tight arse that I am, I decided to make my own. 

 This is the original rubber bumper bump stop (without the alluminium spacers).


Here is the shortened version, with about 1/2 inch cut out, and ready for welding.
 

Chassis:
In the main, the chassis is not too bad, some areas of rust to be treated and both rear spring hangers will have to be replaced as they have rusted away.


  The holes you can see in these pictures were filled in with fibreglass and then undersealed, not very clever in my opinion. Both spring hangers will be cut out and replaced with new.   
 Started work on the rear spring hangers today, I cut away the off side, and a pile of rust came falling out.
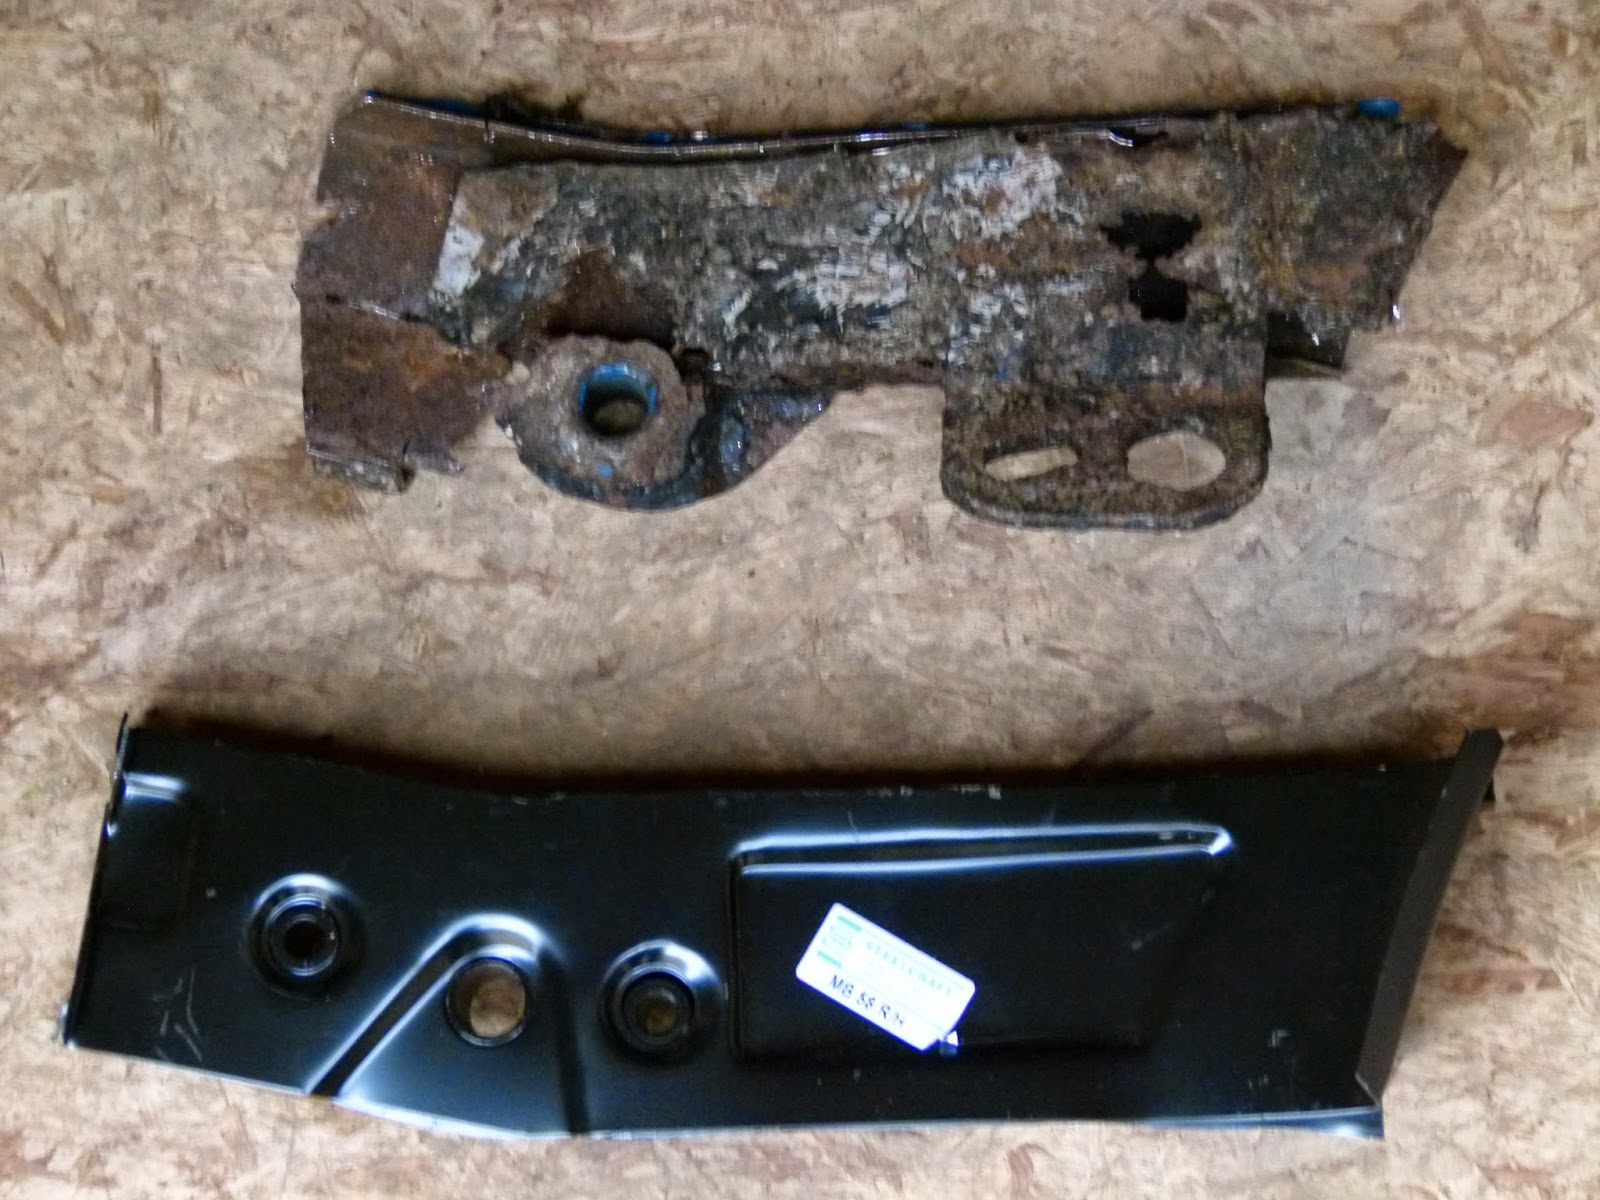
 Old spring hanger compared to the new one.
I am deliberately fitting a chrome bumper rear spring hanger in place of the rubber bumper one, to reduce the ride height.
 This is the new rear MGB spring hanger held in place prior to welding. The spring hanger is a Steelcraft one, and therefor doesn't fit, it has to be cut and tweeked to get it in the right place, even then the shackle hole is one centimeter further forward than the factory part.
I am also welding in reinforcements inside the join.
This is the fitted panel, including the boot side member, I had to make new angled section to fix it to the new chassis. I then painted inside the spring hanger prior to welding on the closing panel.
This is the completed spring hanger, with the new closing panel plug welded on .

  The near side spring hanger will also be replaced in the same way.
 The next stage is to clean all the sticky underseal off the underside of the MGB, however, trying to tackle it with a heat gun and scraper lying underneath it is next to impossible, so I set about building a Rotisserie.
 
 Here it is with the MG on its side, making the nasty job of cleaning the underseal off, a little easier. It took 5 or 6 evenings with the scraper, hot air gun and white spirit to get it to a reasonably clean state.


 Now that the bottom is totally clear of underseal and filler and fibreglass etc, I can see what needs doing. The rear spring front hangers I thought initially ok, but holes have now appeared, so I will cut them out and fit new ones, together with new Heelboard extensions. This is also a good opportunity to fit chrome bumper hangers, (as I have done at the rear) therefore giving me the correct ride height.


 The rear bumper stop chassis area on the right hand side has corrosion.I thought that I would make up some repair panels and fit a new bump stop, however, having thought about it a bit more, it seems that this bump stop section, is an addition fitted to the rubber bumper chassis, to lower the bump stop, but because I will be having the same ride height as the chrome bumper version, this added chassis section can simply be cut out, and new bump stop plates welded on, therefore overcoming the bump stop issue because of the lower ride height.


 I am in the process here, of cutting away the bump stop chassis section, and once it is cleaned up I will weld on the new bump stop plate.


The underside of the MGB is now fully repaired, and treated with Bonda Zink primer, ready for the next stage, I have yet to decide what paint/protection system to use.

 There was some corrosion on the n/s/f chassis end, so I decided to cut it out and make a new section.

 This is the box section with a flange and captive nuts for the bumper brackets.


This is the completed repair.