Rear Wings:
Both rear wings are in a bad way, with extensive rust to the wheel arches, the beading and above the beading. The inner wheel arches will also need repairing.
The outer wheel arches have been cut off, and will be renewed, the inner sections are repairable, so shaped pieces of metal have been made and welded in place.
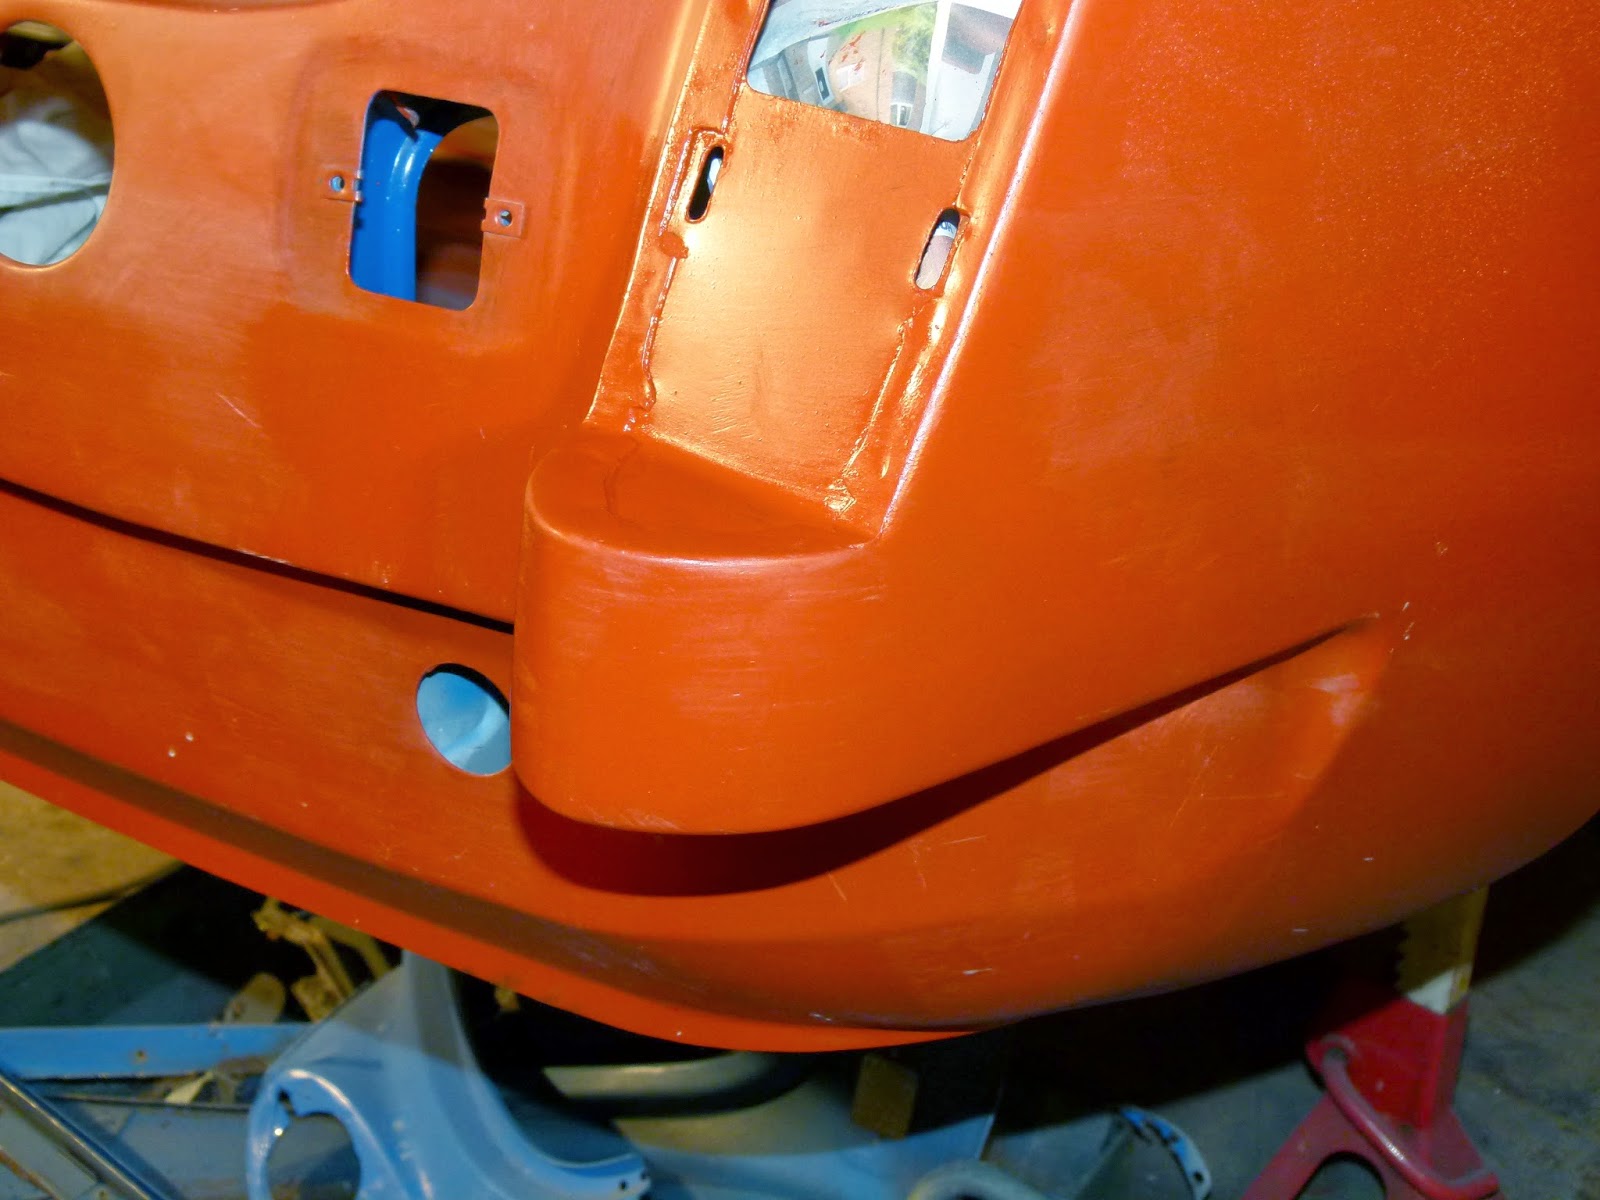
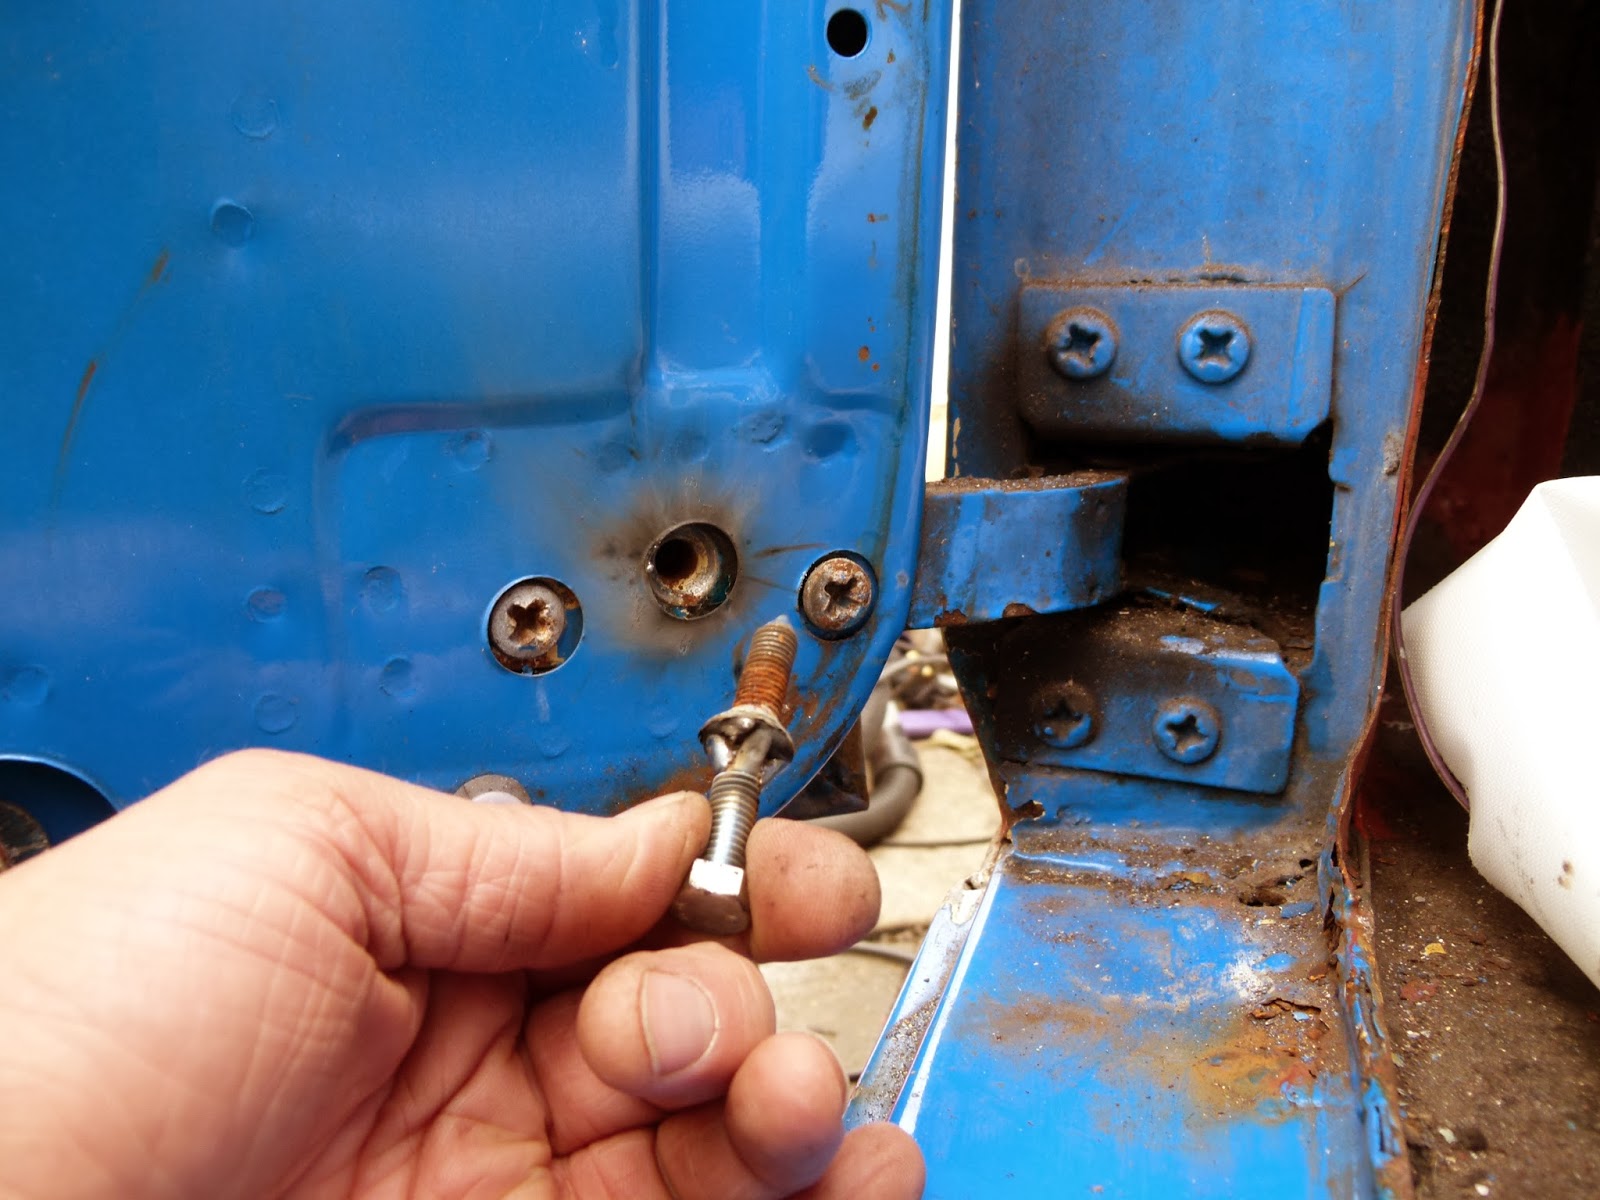
Both rear wheel arch seat belt mounts (not used on the GT) are rusty, so I have decided to cut them out and weld plates over the holes.
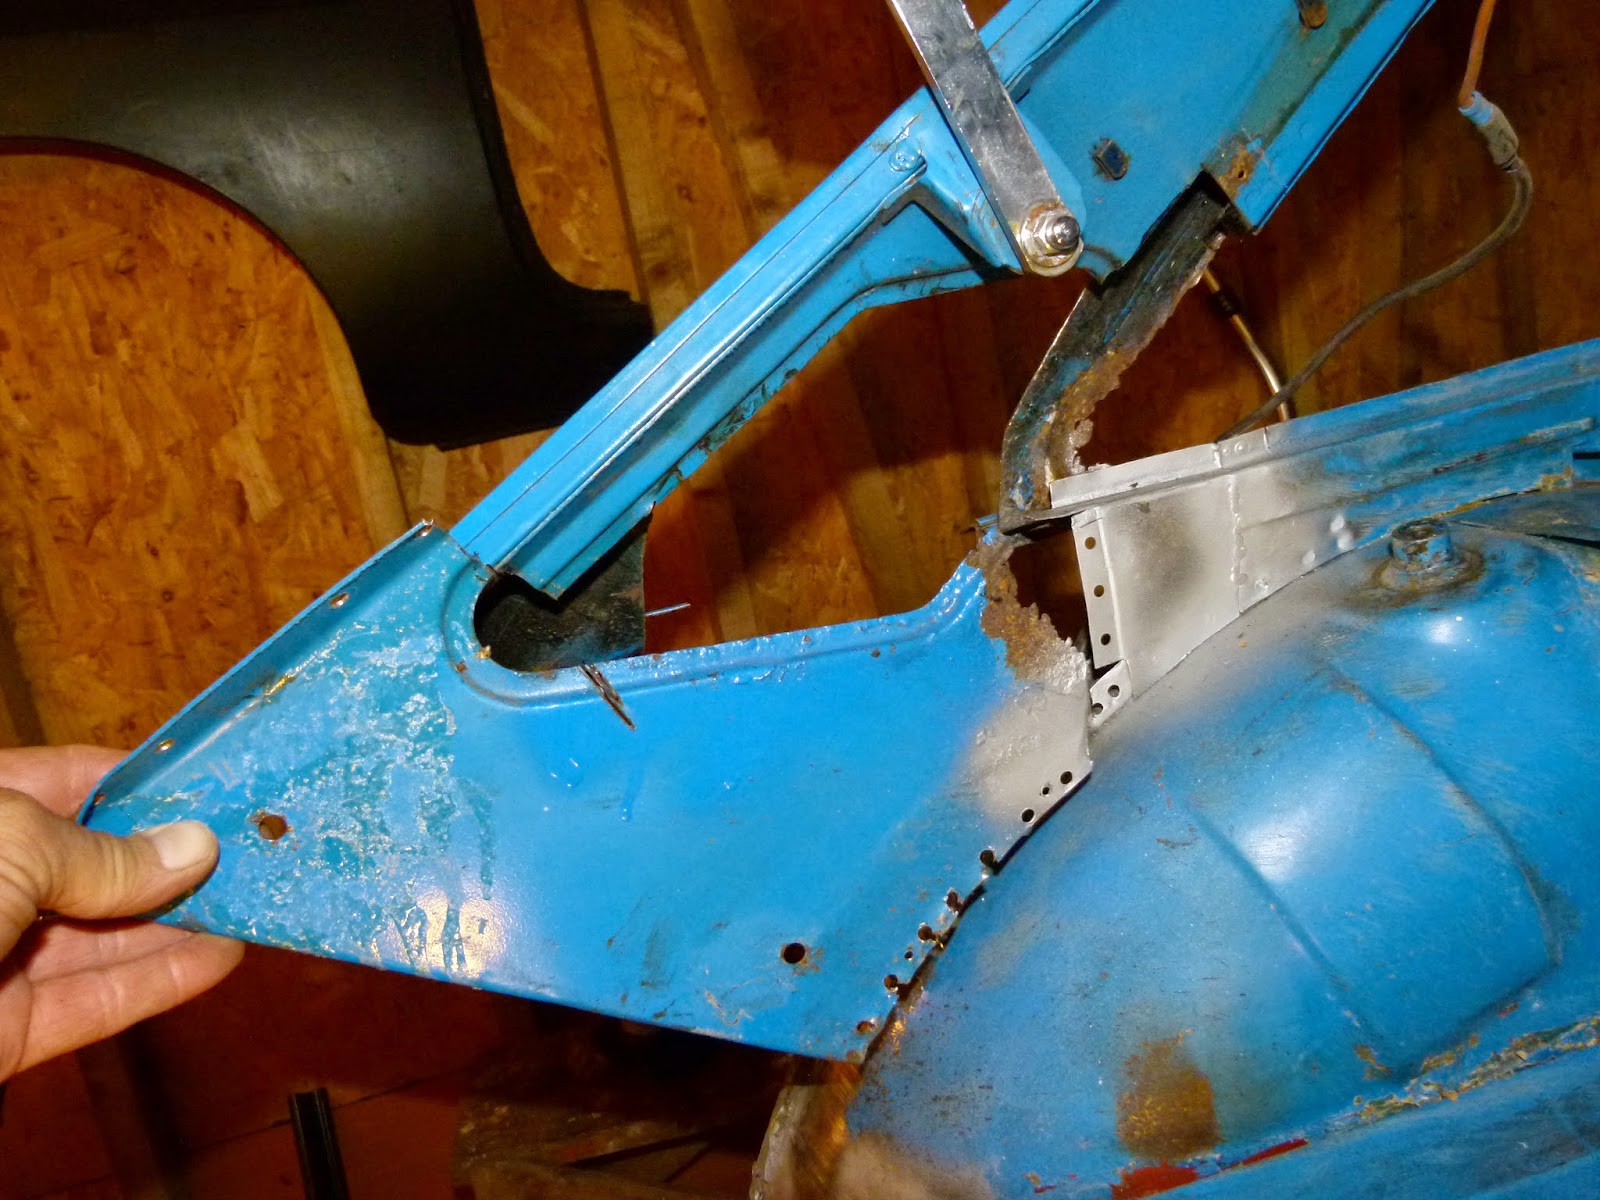
The rear 'C' panel inner pillars are rusty on both sides, it is a complex shape and 4 separate panels meet at this point, so making repair sections will not be easy.
This is stage one of the complex repair section,
This is the completed inner section, made up of 3 separate pieces. The outer side of the drip rail will be dealt with when I get around to fitting the rear wing.

The near side rear inner pillar is even worse, so I have decided to buy a ready made repair panel for this to make the job easier, however the bottom bit of the outer drip rail will still have to be made.
I cut away the lower section of the inner pillar panel, and then cut the new panel to fit.
The bottom window corner is nothing like the right shape on the new panel, and its a genuine heritage part, so had to cut it and modify the corner to the correct shape.
Here is the completed n/s/r inner wing/pillar repair.
I cut off the remained of the o/s/r wing and wheel arch, and cleaned up the edges.
After the initial test fit of the rear wing, I fitted the wheel arch in place with Cleco clips, and then took it all off again to prep the wheel arch and floor pan corner piece.
I then plug welded the wheel arch and Boot floor corner into place.
The o/s/r wing is test fitted, I took it on and off at least half a dozen times, before I got the fit and alignment right.
The o/s/r roof drip rail was quite rusty, and I had originally decided to repair it, but on closer inspection it was too far gone and the metal was very thin and not weldable. so I cut it off and bought a new roof drip rail section.
I painted the inside of the rear wing and wheel arc etc, because it will not be possible to get to once the wing is fitted.
The rear wing in its final fitted position. I decided to use Bondtech Metal to Metal bonding on the drip rail and wheel arch joins, as I don't have a spot welder. The other joins are all plug welded.
I lead loaded the seams, where the wing joins the rear valance, and a skim of filler just to finish it off.
Work begins on the n/s/r wing and wheel arch etc. First job is to fit a new gutter/ drip rail as the old one has rusted away.
First test fit of the new n/s/r wing, lots of adjustments and shifting about required to get a good fit.
The seams are lead filled, and then skimmed with filler to get a smooth finish, that wont rust through.
The n/s/r wing interior and the wheel arch areas are painted with Bonda Primer, then cellulose primer and 4 coats of Tahiti Blue cellulose paint, before the wing is finally fitted.
The n/s/r wing is finally fitted, partly bonded and partly welded, I have use metal to metal bonding on the wheel arch and drip rail edges, and welded the rest. the seams having been lead loaded, are skimmed with filler, sanded and then treated with zinc primer.