Sills:
Both sills are rusty, the n/s is repairable, but the o/s will have to be replaced.
I cut away the off side sill today, using the electric saw and angle grinder.
I found more rust than was expected!
The castle rail has been repaired at least 3 times, a section welded over the top of the old one at the front and 2 different sections at the back, this explains why the bottom line of the sill was all over the place. The castle rail will have to be replaced as well.
I cut away the Castle rail on the o/s and then removed the poorly repaired section on the inner step sill, and weld in a new piece made from sheet metal.
I managed to buy the sill kits from ebay for both sides, saving some money on the cost of new ones, and they are genuine heritage parts.
The castle rail is cut off first and then offered up for size.
To get the positioning correct, you use spacers, I cut three wooden blocks for the internal spacing, 4 1/4 inches long by 2 3/8 inches deep, this places the castle rail the correct distance from the inner step sill. I then cut 3 pieces of flat metal strips, 5 1/2 inches long and used Cleco fixings to hold them in place. The castle rail is them removed and prepared for welding.
The Castle Rail is welded into place and then the new chassis outrigger is welded on top of that, and lastly the jacking point.
The inner sill and castle rail are now painted with Bonda Zink primer and will be coated with chassis paint before the next sill panel is fitted.
The inner sill membrane has now been plug welded into place, then the weld ground down smooth and painted.
I spent a whole evening just lining up the outer sill, to get the gaps just right, some bending and tweeking was required, once I was happy, I then plug welded it into place, and welded around the pillar etc.
Work begins on the n/s sill, initially I was going to save the left sill and just do local repairs, but seeing how bad the inside of the right sill was, and looking at the poor shape and alignment of the left sill, I have decided to cut it all off and replace it all.
The outer sill and inner membrane has been cut away, and there are some repairs to be done to the inner step sill, similar to the work i have already done on the right side.
Repair section made by hand and welded into place on the inner step sill.
Spacers fitted to the Castle Rail, ready for welding.
Castle rail, and new chassis outrigger now welded into place, also the new jacking point.
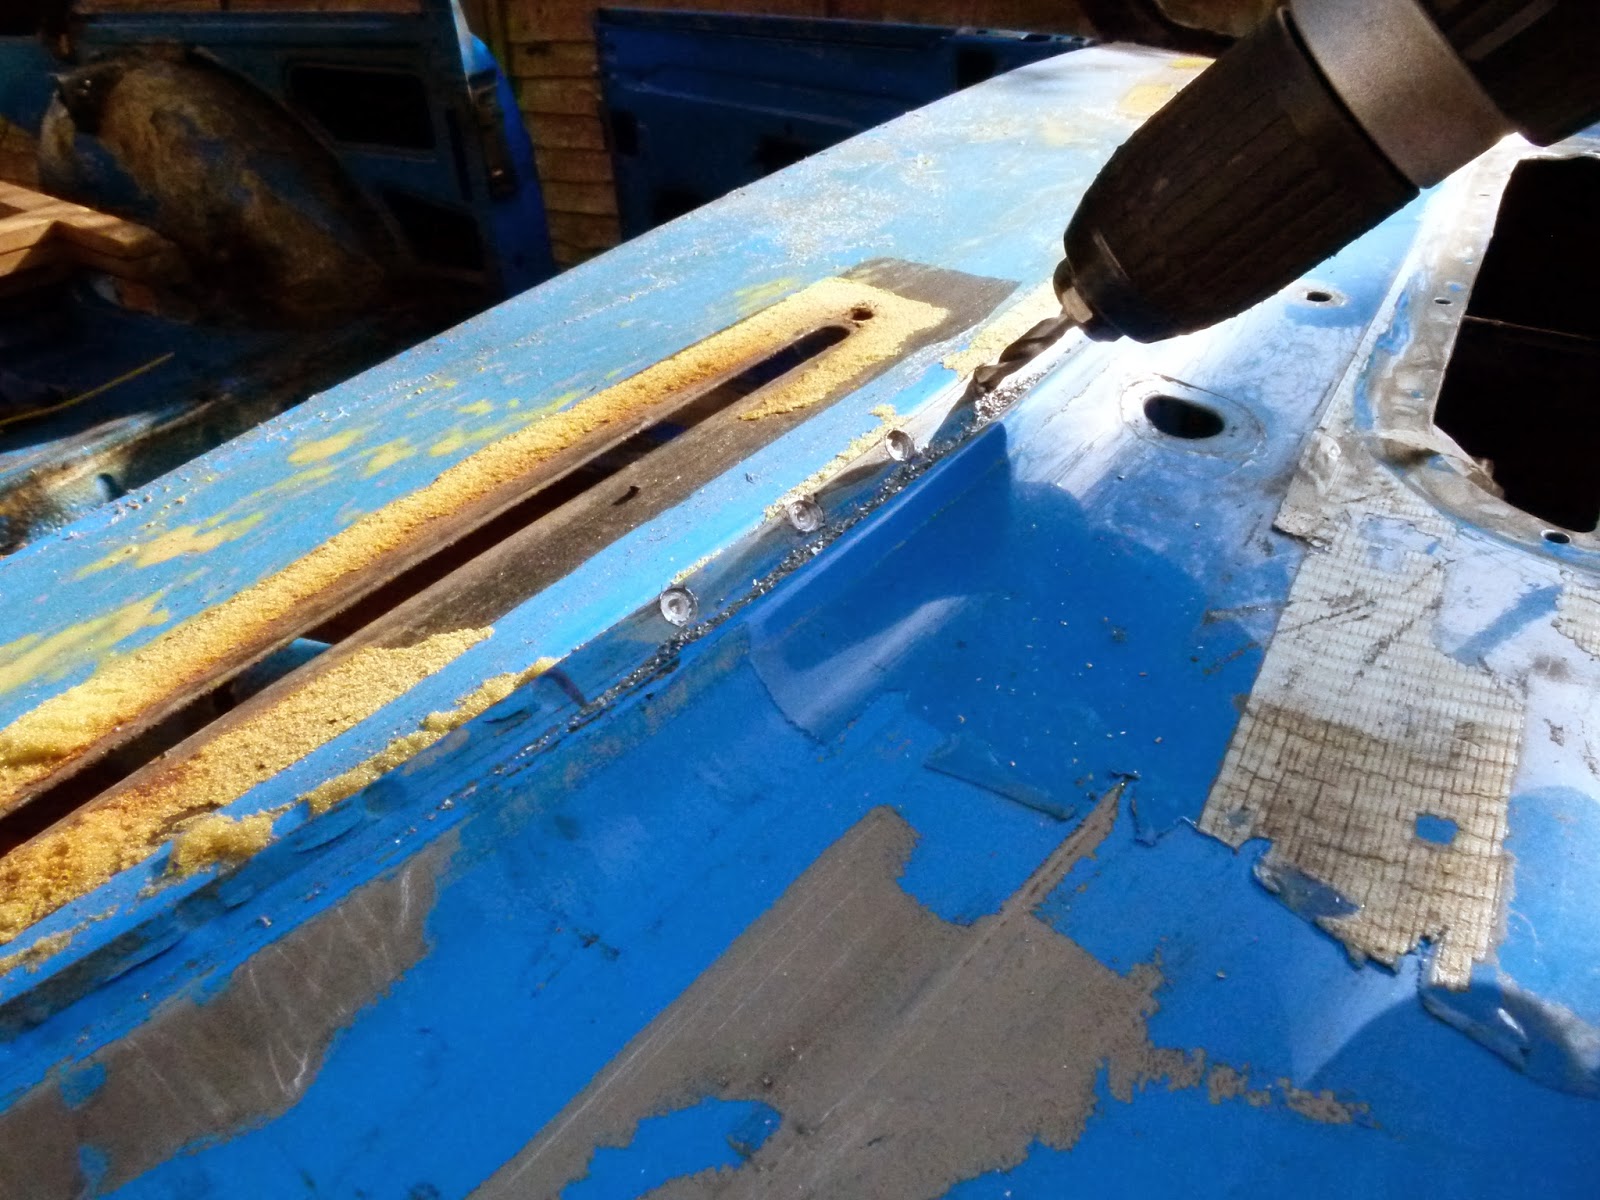
The floor edge panel was then prepared and many holes drilled for the plug welds, and finally welded into place.
The inner Sill Membrane was plug welded into place, primed and then painted.
A repair section was made for the bottom of the 'A' pillar.
The completed n/s Sill outer, lined up and welded.